Tuesday, November 21st, 2017
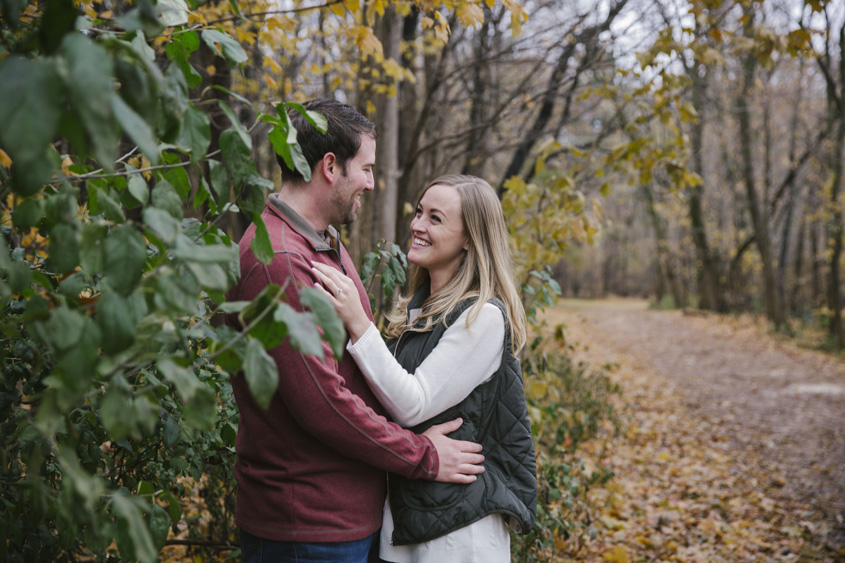
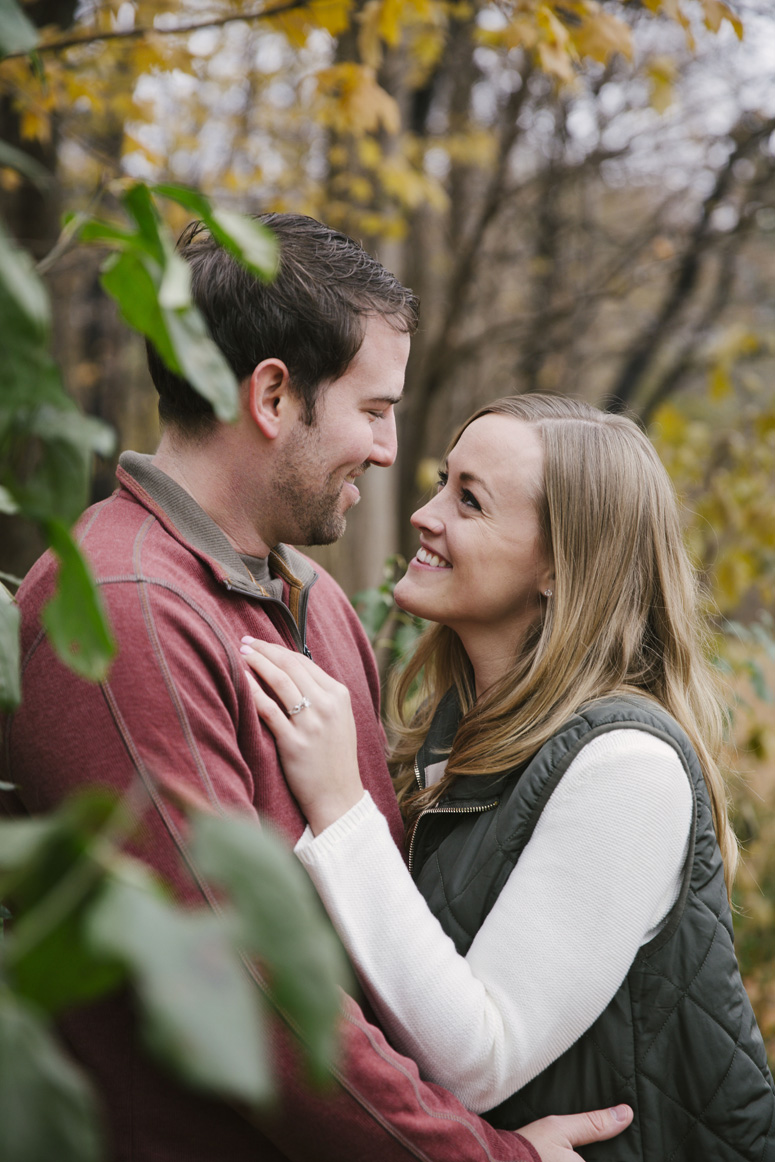
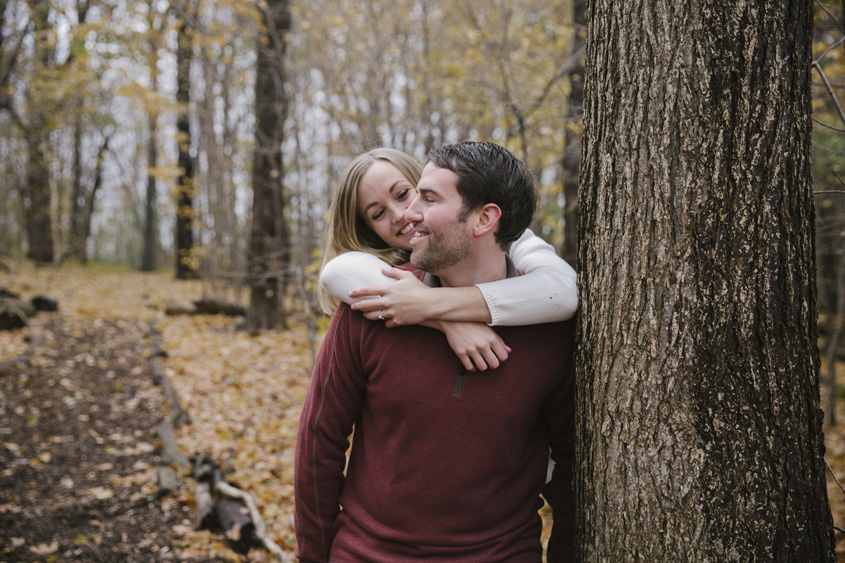
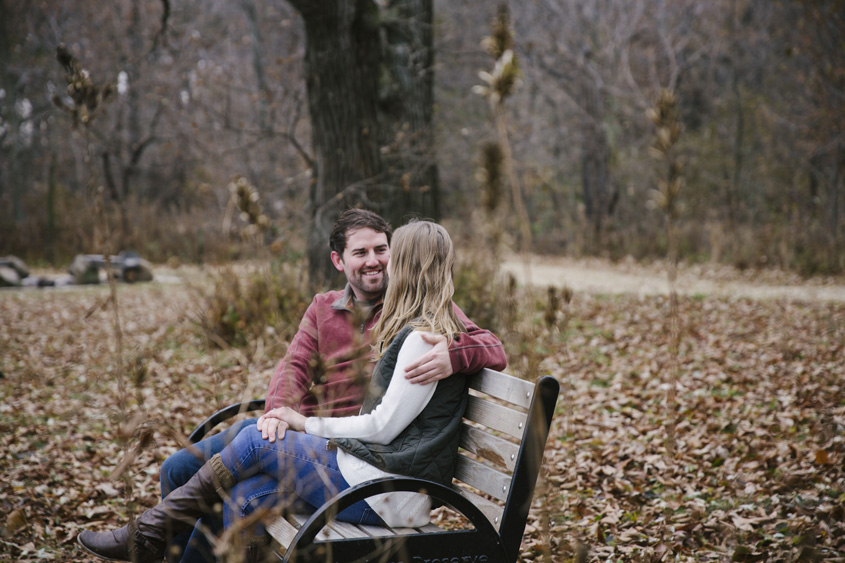
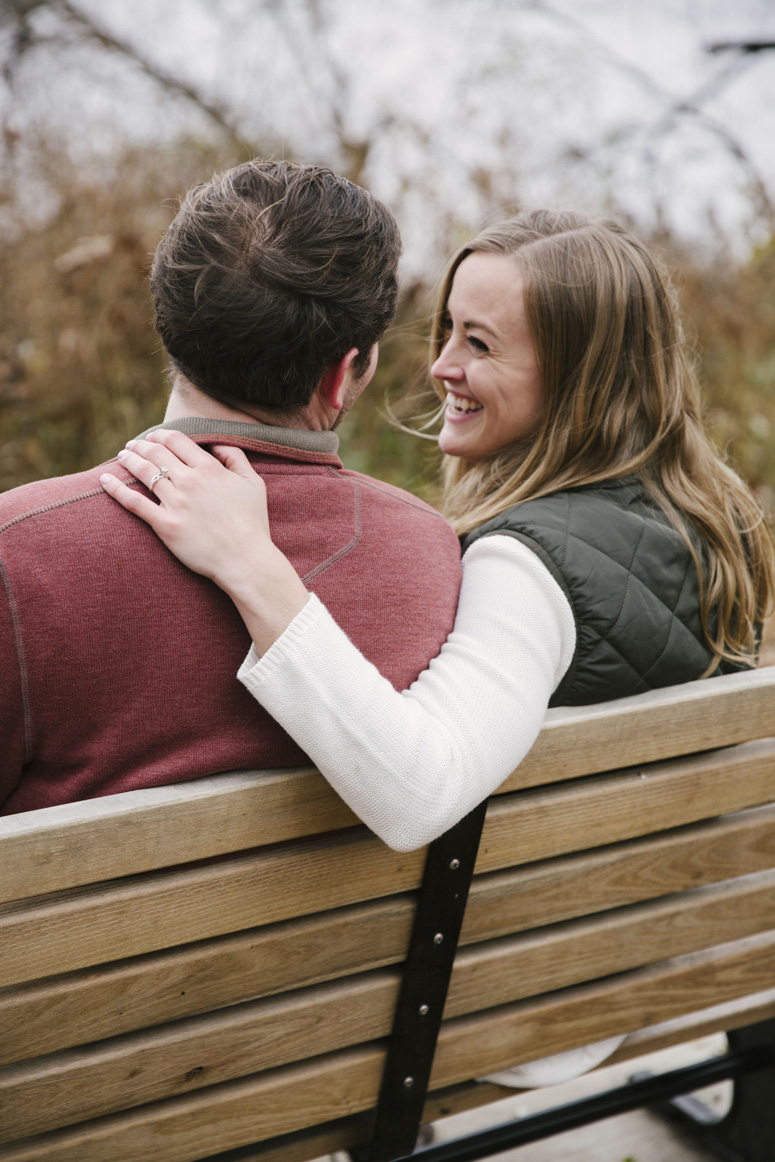
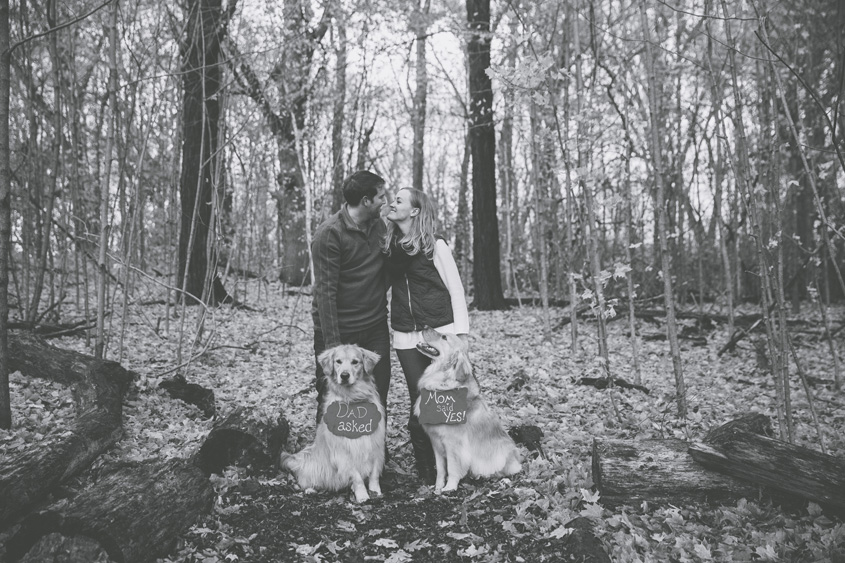
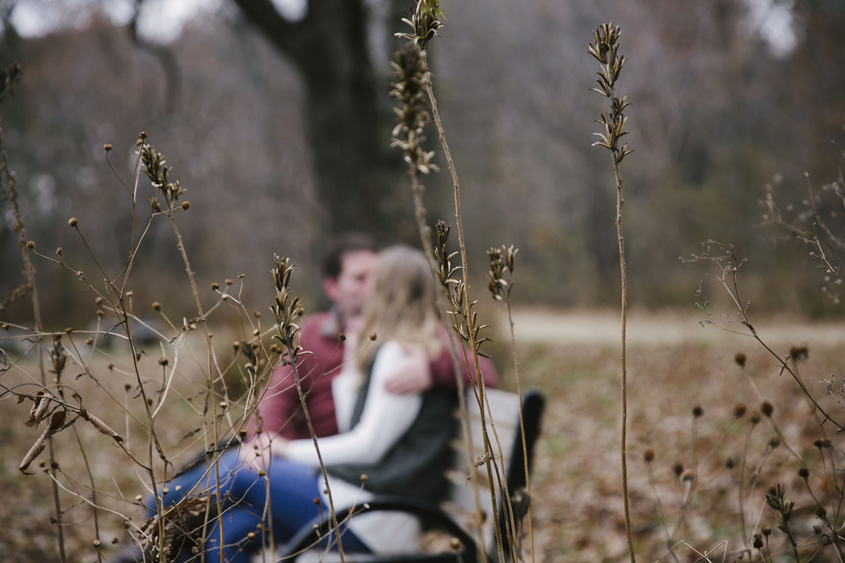
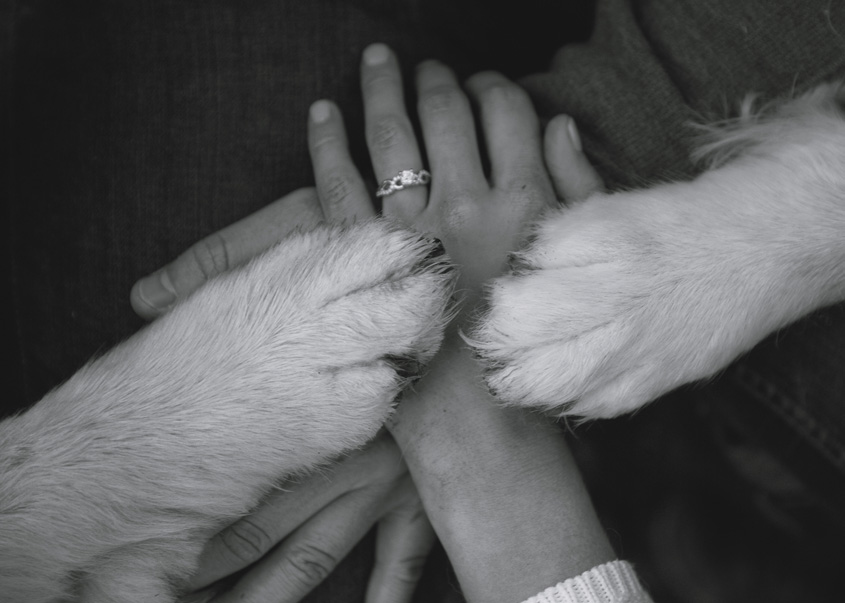
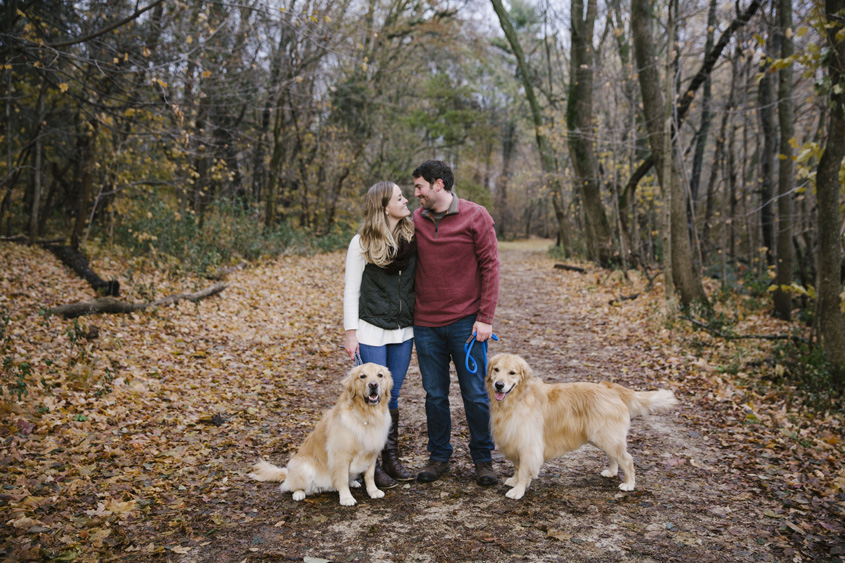
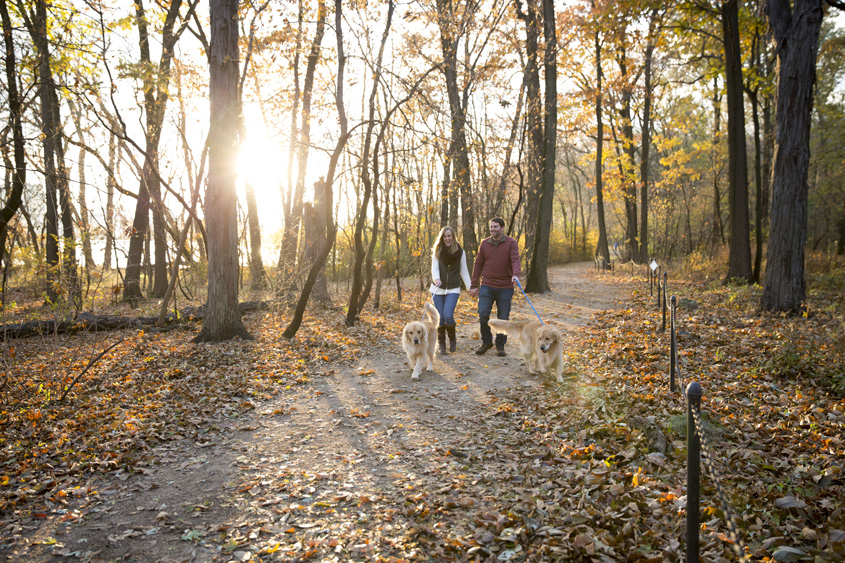
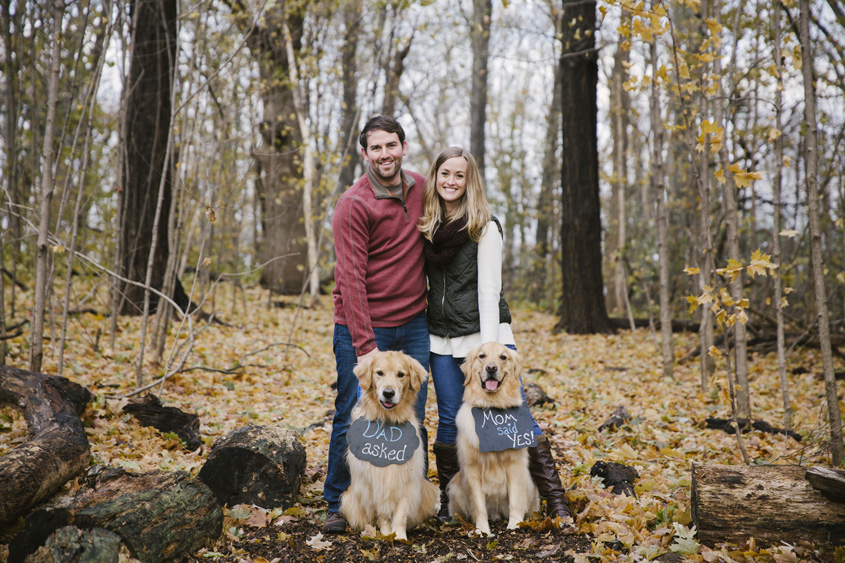
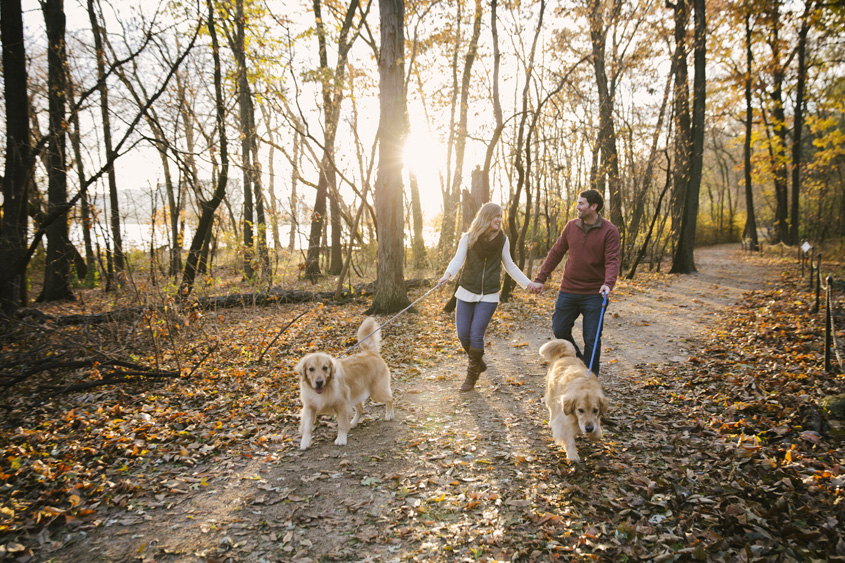
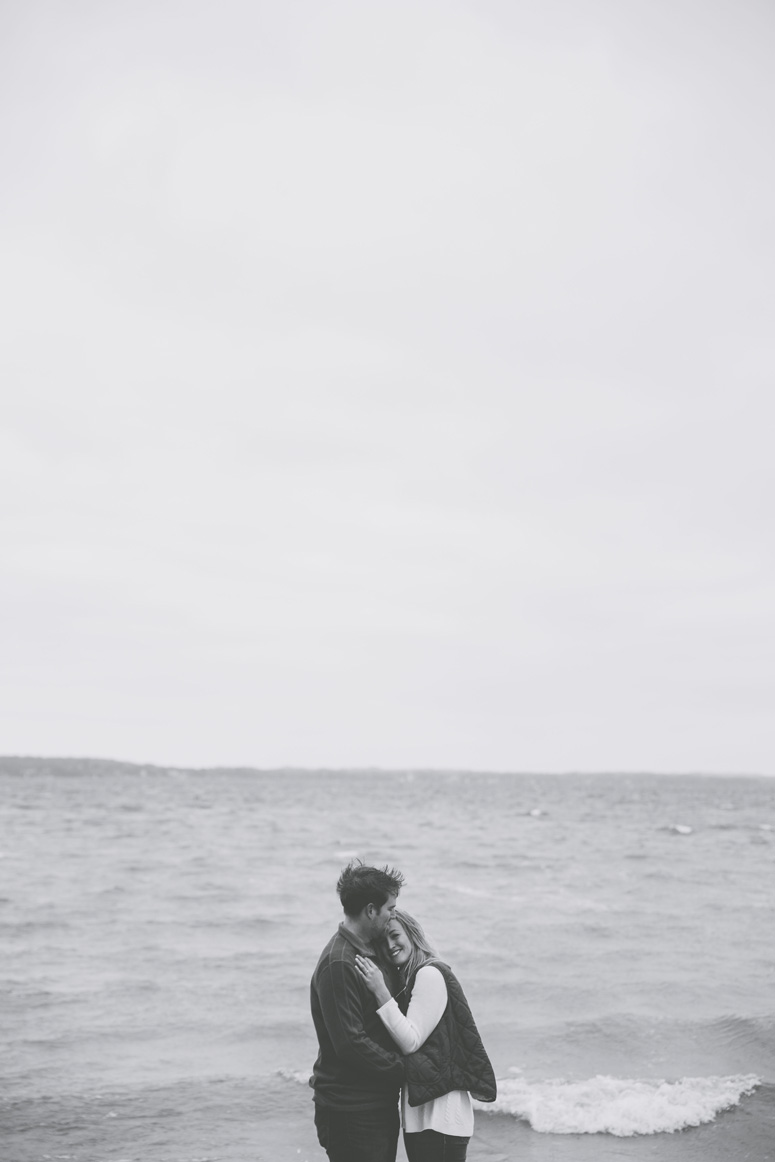
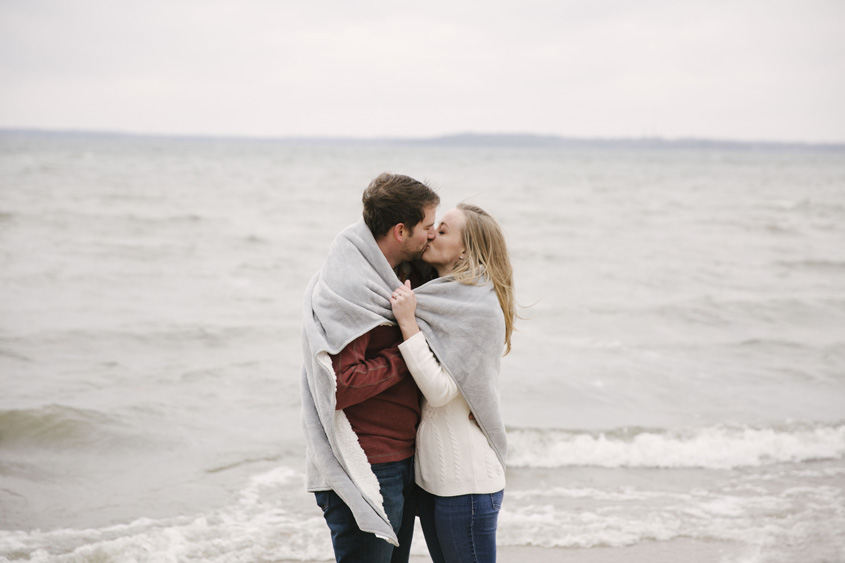
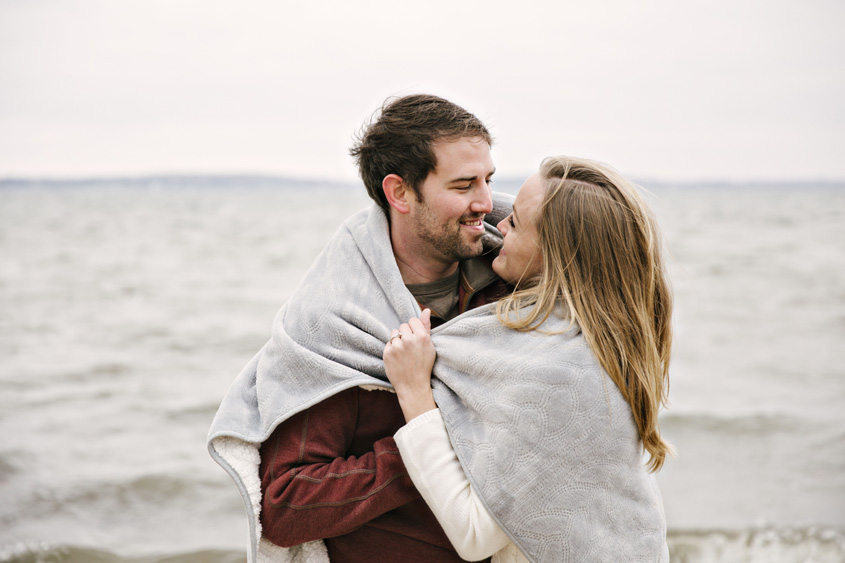
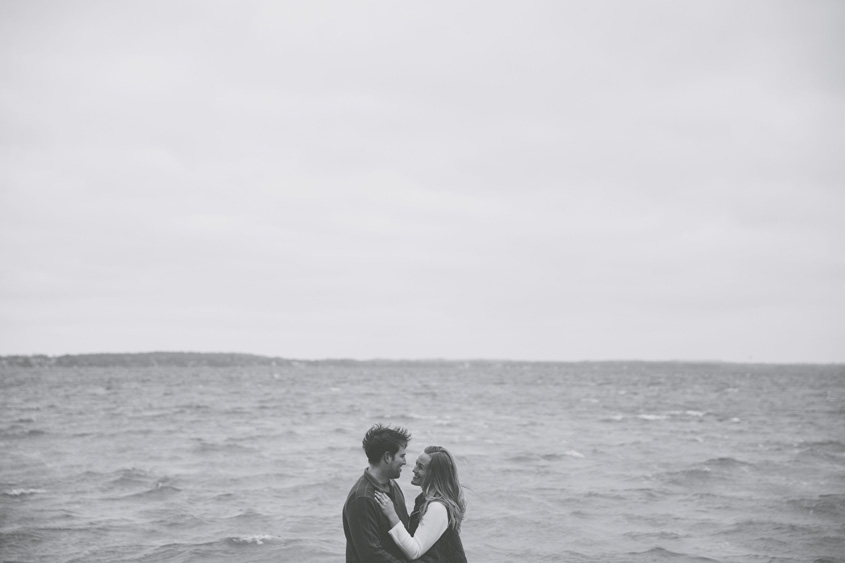
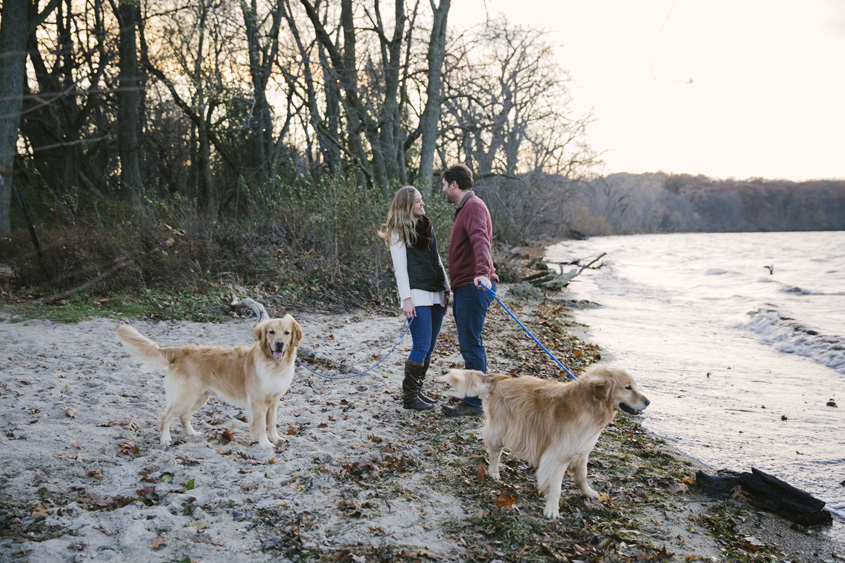
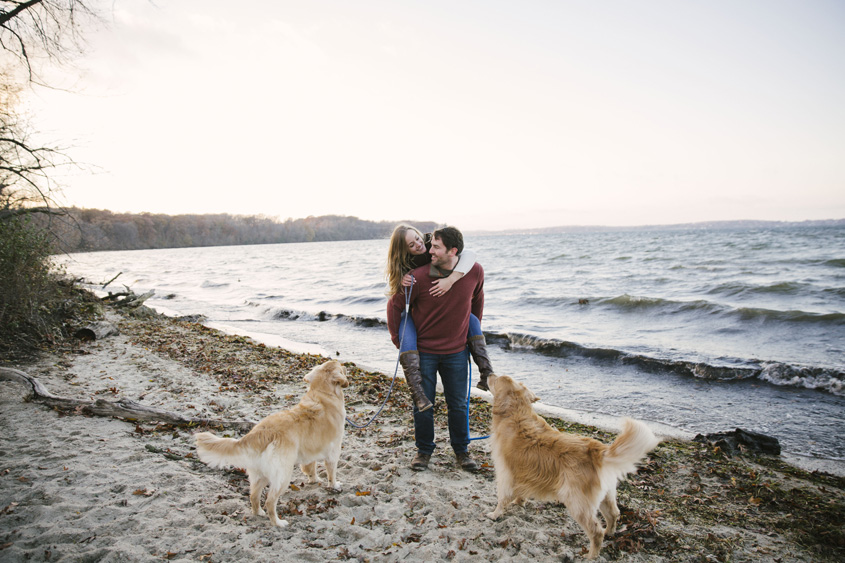
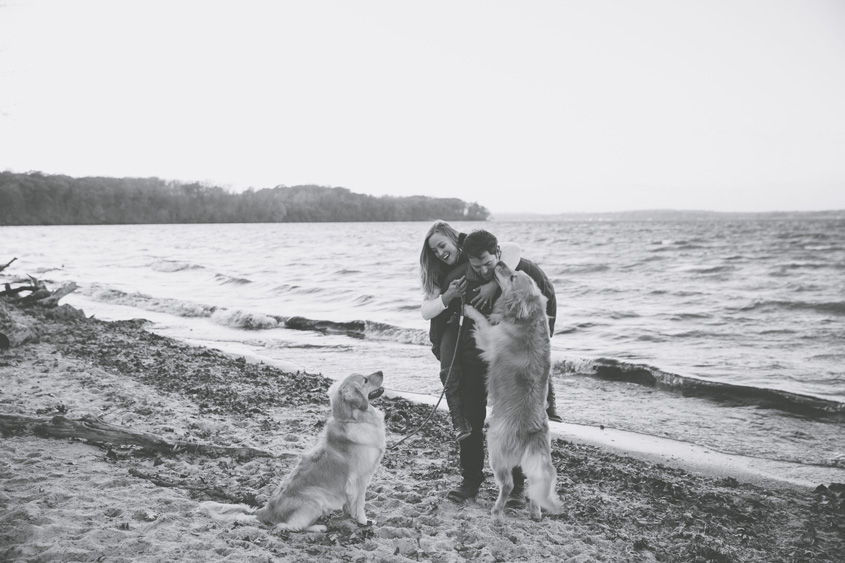
This past weekend I had one of the most fun engagement shoots EVER. It involved not one, but two handsome dogs. Yep, you read that right. Beth and Mike wanted their cute golden retrievers to be part of their Picnic Point engagement photos. These lovebirds were so easy to photograph, their love for each other was simply magical to document. One of my favorite things about them is that one of their first dates was at a dog park with their pups. The fact they each owned a golden retriever before even dating makes their story seem like it’s right out of a movie. I mean, seriously? How romantic and awesome is that? I am clearly not over that. Not sure I will ever be. Beth and Mike were troopers during one of the coldest weekends we’ve had so far in Madison this Fall. We were having such a good time that we forgot it was in the 30’s. I honestly couldn’t feel my face at one point but this will go down as one of my most memorable engagement shoots I’ve ever done. Beth and Mike, you guys are so meant to be together, I wish you nothing but the best in your new chapter.

Friday, November 10th, 2017
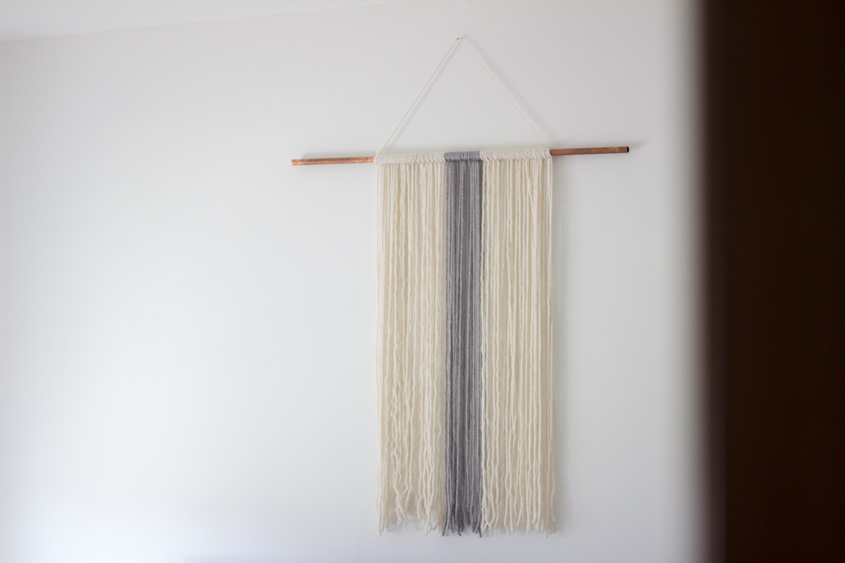
Ever since we became homeowners I’ve been way more cautious about what we hang on our walls. I am having way too much fun making our home “us” and even creating some things here and there to add that extra DIY touch. I always knew I wanted to keep our room simple with minimalist decor to create a more serene vibe. That’s how this Yarn Wall Art DIY was born.
I used copper pipe to add a quick modern look. Home Depot, as you know, will cut it for you which makes things way easier. I then picked some neutral colors of yarn at a craft store and made this during nap time one afternoon. The impact it had in our master bedroom was just what I envisioned. To create your own you will need: copper pipe (whatever length you desire), yarn in as many colors as you like. The thicker the better. Plus a pair of scissors.
Gage how long you want your string to hang at the longest point and double it so you can create a larks head knot onto the pipe. To create this loop the front yarn tails through the back loop to create a loose knot. Tighten the knot to secure it by pulling down on the tails, as shown below. Continue making this through the lengh of the pipe, alternating colors as you wish. It’s super easy and your yarn wall art piece will be done in no time. Isn’t lovely? Will you make your own?


Thursday, November 2nd, 2017
Ladies and gents I’m back!!!! After taking a small break from the blogging universe I have a fun DIY with one of my faves: Minnetonka. This Boho boot belt DIY is perfect for the cold temps we are currently having here in the crazy Midwest. Is super easy to make and it will totally make a fun gift. Learn how to make it right here. What do you think? Will you give it s hot? If you do, please let me know. It always makes my day when I see my projects being made out in the world! Happy crafting loves.


Wednesday, November 23rd, 2016
With the holidays around the corner (crazy, I know) it’s that time again to find presents for your favorite people. I love shopping at small businesses and supporting other creatives. Uncommon Goods has been one of my favorite places to shop at for a while, the fact that they support independent artists really makes them stand out to me, plus they truly care about our planet and the quality of products that you find on their site. I recently discovered their baby page and let’s just say Santa arrived early this year HA! We fell in love with their wooden toys. Are you surprised?. Those Spanish blocks are just too darn cute and we cannot wait to practice with our little one when he’s older. Plus, those onesies, so original. Yay for non-blue baby boy clothes.
If you’re already doing some holiday shopping, check out their holiday gift guides. They have so many cool finds for everybody. I love how many of my friends and coworkers are already familiar with Uncommon Goods. We had a full on conversation the other day of what we’ve been eyeing and things that were on our wish list. Take a look yourself and let me know what you think! I mean, how cute are these baby things below? Are you a fan of Uncommon Goods too? Have you kicked off your Christmas shopping? Happy shopping everyone.


Wednesday, November 16th, 2016
It’s crazy to believe that the holidays are around the corner! How did that even happen? It seems like Halloween was just yesterday. I won’t lie, I’m so looking forward to hosting a few dinner parties and getting into the holiday spirit. Thanksgiving is just a week away which is one of my favorite holidays. Well, it’s my number one really. A holiday that’s all about food will forever have my heart HA! We do have a lot of things to be thankful for this year so maybe that means we will get a bigger turkey? HA! Something I’ve always loved to do when entertaining and hosting friends around the holidays is having a cheese plate for when they arrive. Because let’s be honest, everyone loves cheese! We live in the best state for cheese so I guess we’re very spoiled in this house.
If you’ve ever wondered how to make a cheese plate or felt overwhelmed about all the rules you have to follow to create one, well this “Cheese Plate 101” is for you. After learning my cheese plate tips, you’ll be a pro next time you decide to make one. Are you ready? Take notes or pin away!
First things first, the most important thing of course is having a variety of cheeses. I like having something soft, something hard and something in between. Different flavors are always a must. For this post I teamed up with Roth Cheese and they have some great options. For my cheese plate I am using the Havarti Dill, GranQueso, Grand Cru (my absolute fave) and last but not least their Buttermilk Blue Cheese. So just remember, the key is different flavors and textures, the more the better in my book HA!
Next up, tasty “vehicles”. What do I mean by that? Well, something the cheese will be eaten on with – like bread, crackers and bread sticks. As far as meats go, you can never go wrong with Prosciutto (one of my absolute favorite things in the world). Salami is another fan favorite too. Remember to keep it simple though, you don’t want to take the attention away from the cheeses. They should always be the star of the show. For sweets, I always include some type of nuts or trail mix. Lastly, include some fruit for a little extra variety. Grapes are the perfect addition in my opinion, no slicing necessary and easy to eat. Make sure they are seedless of course.
That’s it! How easy is that? A simple cheese plate that will have every guest at you next party totally hooked. I will confess, I sometimes put together a cheese plate for dinner on the weekends, it’s such a treat to have one. There’s nothing better to snack on really. If you want to see more, take a look at this little video below. I hope it inspires you to go get all you need to create your own cheese plate at home sometime this week. If you do, please let me know. I will be right over! HA!
Guess what? I have a surprise for you, use this coupon and receive $2 off any Roth Cheese! How awesome is that? So what do you think? Do you enjoy putting together cheese plates too? What do you like adding to yours? Aren’t they the best for parties? Happy entertaining loves!